A conversation with design students
A conversation with design students
animating for change
animating for change
THE INTERVIEW:
Hear the conversation between the writer and the design students.
Hear the conversation between the writer and the design students.
THE INTERVIEW:
Animation is a valuable method of communicating ideas and making messages easier to understand than still images alone. Animation requires an animator to draw many sequenced pictures, called frames, that look like motion when played in rapid succession due to the way our eyes and brain communicate. With advances in computing technology, creating animation—and making it available for others to see—is within the reach of most people. Making information, such as facts about the Sustainable Development Goals (SDGs), much easier to reach a larger audience.
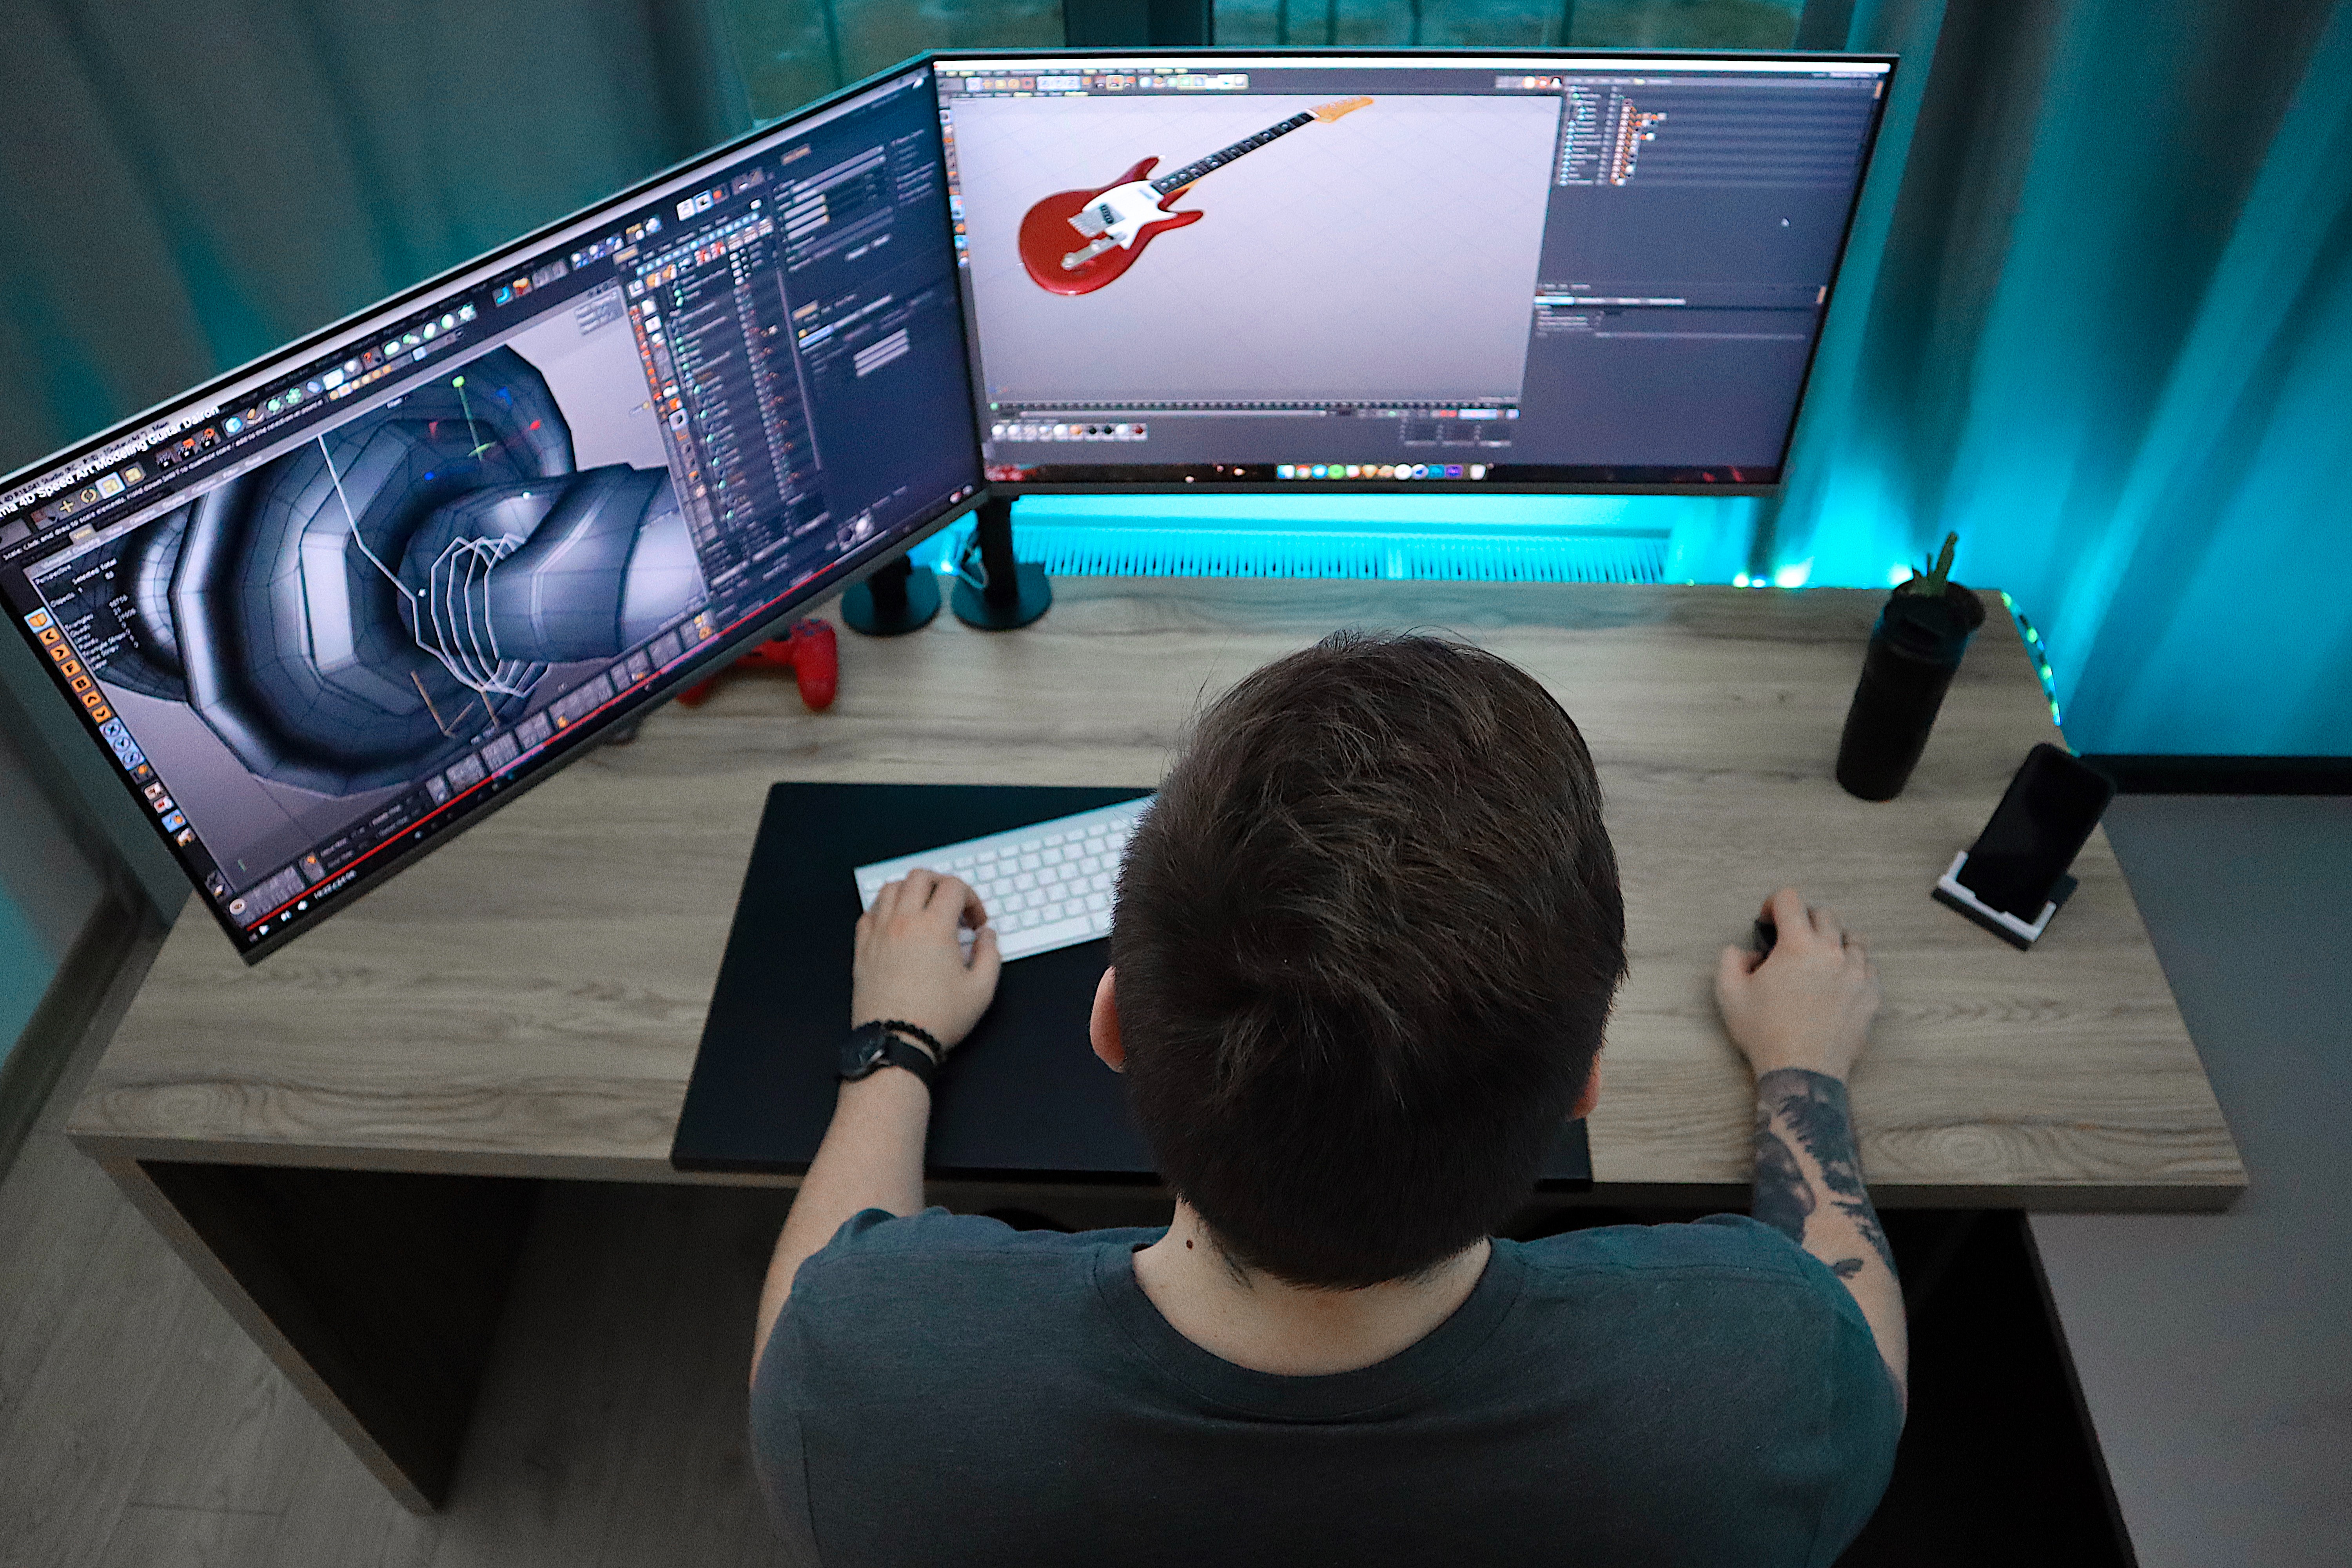
Animation and Visualisation, DES232, is a class offered as part of the Visual Communication major in the Bachelor of Design degree at the University of the Sunshine Coast (UniSC). The course outline states that the class teaches about the technologies and tools needed to create products—such as immersive visualisation and augmented reality—and hones the students’ skills to make projects for screen media, virtual reality, and game design.
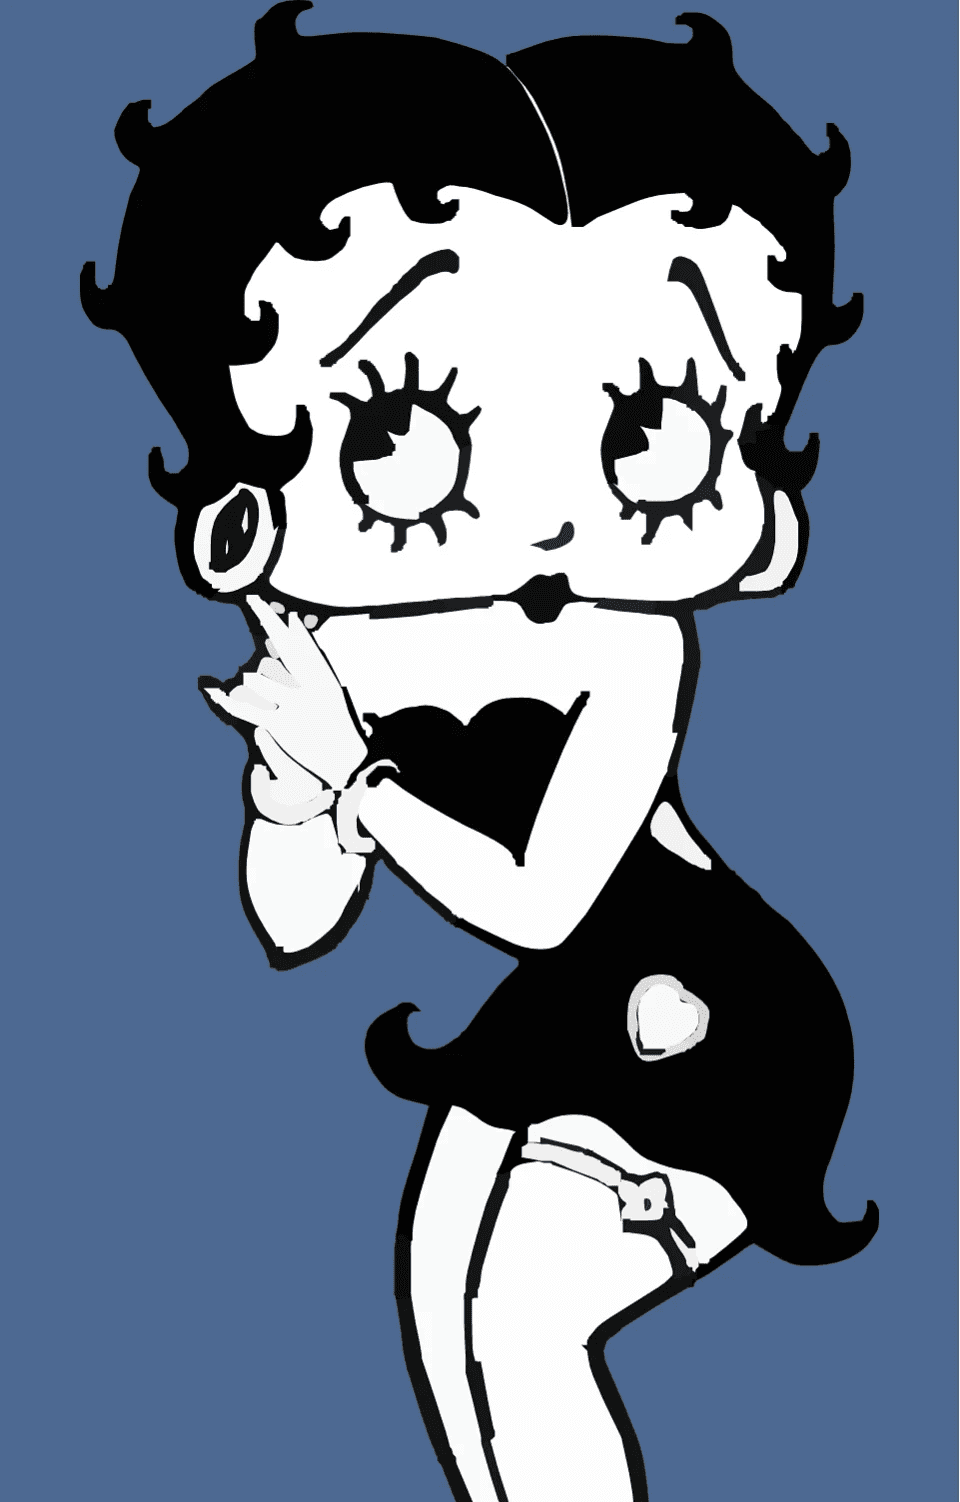
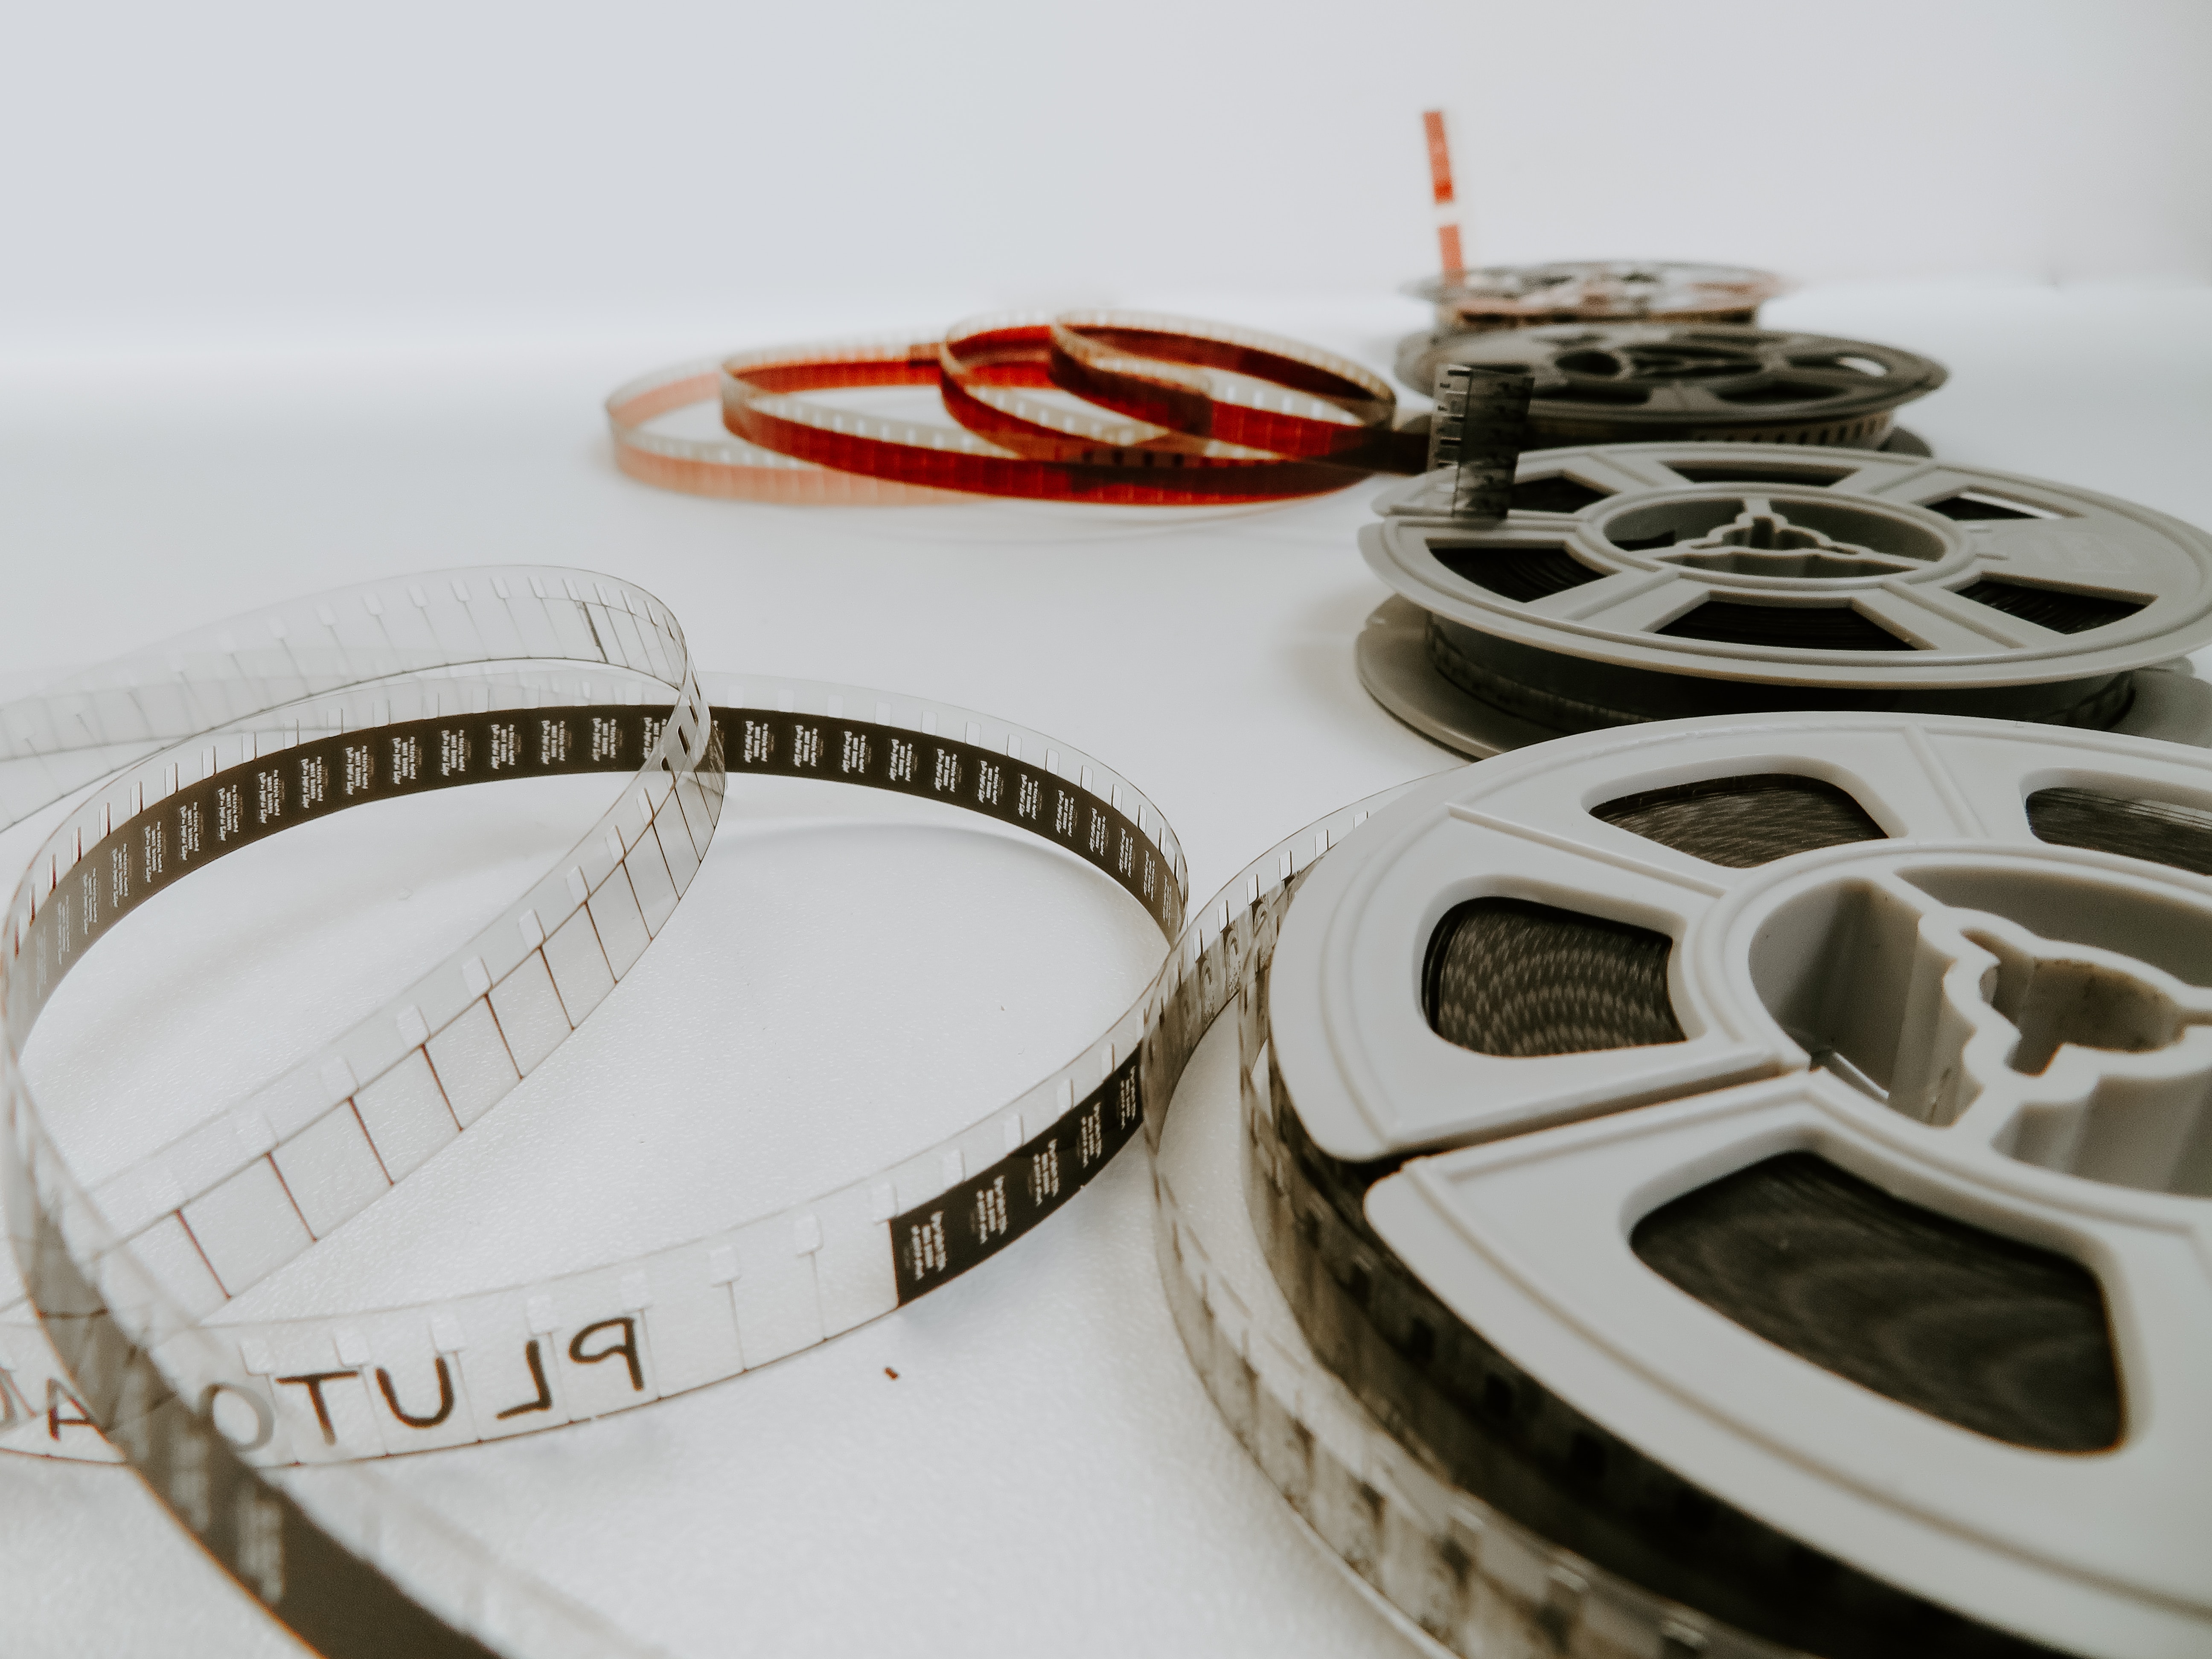
One of the techniques taught in DES232 is rotoscoping. Rotoscoping is the creation of animation by drawing over live-action video footage, frame-by-frame, to make lifelike movements in characters. Animator Max Fleischer invented the Rotoscope in 1915 to improve characters’ stiff, jerky movement in animation to make them smoother. Fleischer’s invention projected live-action film, one frame at a time, onto the back of a glass panel so the animator could trace the images onto paper on the front side, frame by frame.This technique has now been adapted to work with computers. Though used slightly differently, the main idea is the same as Fleischer’s invention and is still referred to as rotoscoping.
In this article, students majoring in visual communication share their insights into animation and UniSC’s DES232 course. Design student Millie Robson says that in the course, they did rotoscoping using Adobe Photoshop.
Animation is a valuable method of communicating ideas and making messages easier to understand than still images alone. Animation requires an animator to draw many sequenced pictures, called frames, that look like motion when played in rapid succession due to the way our eyes and brain communicate. With advances in computing technology, creating animation—and making it available for others to see—is within the reach of most people. Making information, such as facts about the Sustainable Development Goals (SDGs), much easier to reach a larger audience.
Animation and Visualisation, DES232, is a class offered as part of the Visual Communication major in the Bachelor of Design degree at the University of the Sunshine Coast (UniSC). The course outline states that the class teaches about the technologies and tools needed to create products—such as immersive visualisation and augmented reality—and hones the students’ skills to make projects for screen media, virtual reality,and game design.
One of the techniques taught in DES232 is rotoscoping. Rotoscoping is the creation of animation by drawing over live-action video footage, frame-by-frame, to make lifelike movements in characters. Animator Max Fleischer invented the Rotoscope in 1915 to improve characters’ stiff, jerky movement in animation to make them smoother. Fleischer’s invention projected live-action film, one frame at a time, onto the back of a glass panel so the animator could trace the images onto paper on the front side, frame by frame.This technique has now been adapted to work with computers. Though used slightly differently, the main idea is the same as Fleischer’s invention and is still referred to as rotoscoping.
In this article, students majoring in visual communication share their insights into animation and UniSC’s DES232 course. Design student Millie Robson says that in the course, they did rotoscoping using Adobe Photoshop.
“That’s an easier way to capture motion realistically,” says Millie. “Like the A-Ha music video, that’s an example that they usually use. A lot of movies are made that way too. They use real people and act out the movements, and then they draw over them.”
UniSC student Rose Hocking says the course shows you different ways of animating.
“It’s just kind of letting you know what’s available and different methods and things,” Rose says. “It’s good for experimentation.”
“It’s sort of like looking at past ways of animation but then also new and experimental ways,” Millie says. “It’s more digital animation focused rather than like a physical, like stop-motion or claymation,form.”
In classes, students also look at EBSynth and TouchDesigner and use software such as Blender, Adobe Photoshop, After Effects and Fresco. Millie says that the course allows you to choose the program or type of animation you use within your assignments.
“You kind of just use whatever you’re comfortable with or you think is achievable for you,” Millie says.“That makes it a little bit more friendly for a first-timer.”
“That’s an easier way to capture motion realistically,” says Millie. “Like the A-Ha music video, that’s an example that they usually use. A lot of movies are made that way too. They use real people and act out the movements, and then they draw over them.”
UniSC student Rose Hocking says the course shows you different ways of animating.
“It’s just kind of letting you know what’s available and different methods and things,” Rose says. “It’s good for experimentation.”
“It’s sort of like looking at past ways of animation but then also new and experimental ways,” Millie says. “It’s more digital animation focused rather than like a physical, like stop-motion or claymation,form.”
In classes, students also look at EBSynth and TouchDesigner and use software such as Blender, Adobe Photoshop, After Effects and Fresco. Millie says that the course allows you to choose the program or type of animation you use within your assignments.
“You kind of just use whatever you’re comfortable with or you think is achievable for you,” Millie says. “That makes it a little bit more friendly for a first-timer.”
“That’s an easier way to capture motion realistically,” says Millie. “Like the A-Ha music video, that’s an example that they usually use. A lot of movies are made that way too. They use real people and act out the movements, and then they draw over them.”
UniSC student Rose Hocking says the course shows you different ways of animating.
“It’s just kind of letting you know what’s available and different methods and things,” Rose says. “It’s good for experimentation.”
“It’s sort of like looking at past ways of animation but then also new and experimental ways,” Millie says. “It’s more digital animation focused rather than like a physical, like stop-motion or claymation, form.”
In classes, students also look at EBSynth and TouchDesigner and use software such as Blender, Adobe Photoshop, After Effects and Fresco. Millie says that the course allows you to choose the program or type of animation you use within your assignments.
“You kind of just use whatever you’re comfortable with or you think is achievable for you,” Millie says.“That makes it a little bit more friendly for a first-timer.”

The first task of the semester is to produce an animated sequence that will inform their audience about one of the 17 Sustainable Development Goals (SDGs).
UniSC student Jolie Gibbs says that she chose SDG14 Life Below Water—to conserve and sustainably use the oceans, seas and marine resources for sustainable development.
“I created a little fifteen-second animation using just a sequence of hand-drawn illustrations ... to set the scene to what supposedly is in the ocean,” Jolie says. “Then, towards the end, you realise that it’s all set in a plastic bottle. I called it A Plastic Ocean. Just sort of creating a bit of that awareness and realisation as to the impact that marine pollution has on the environment.”
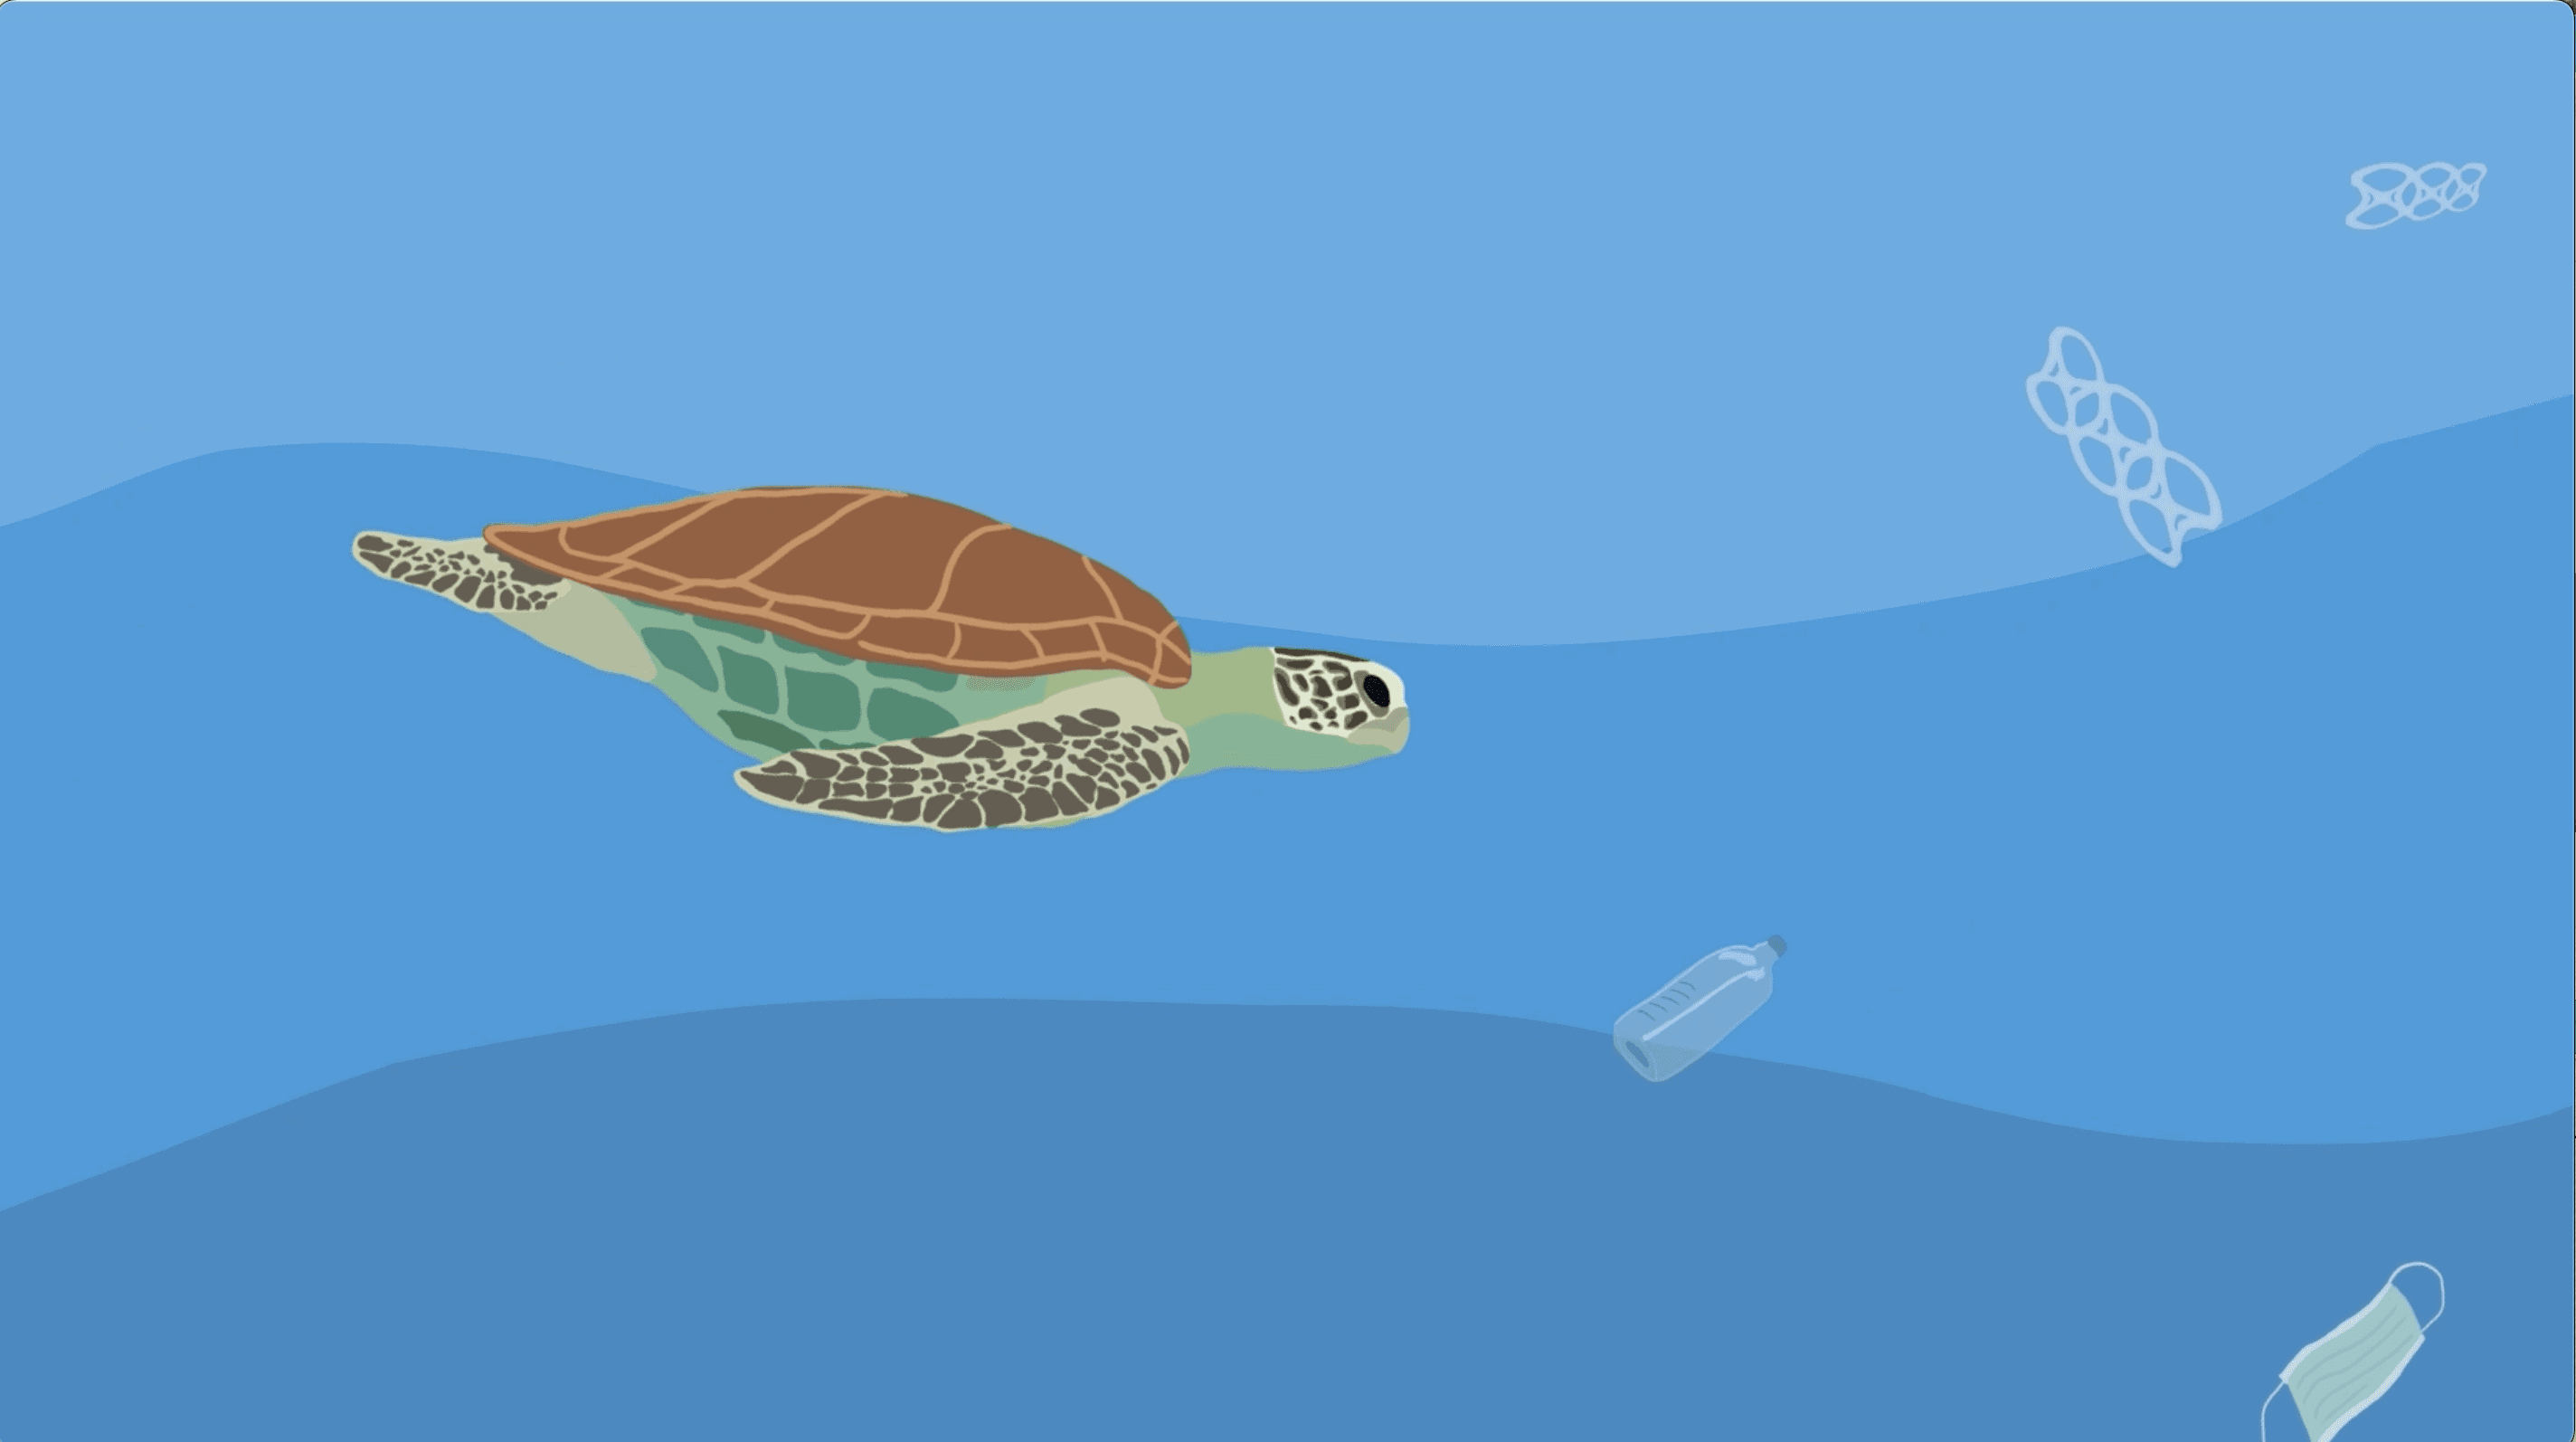
Millie’s animation was also about SDG14 and went through layers of the ocean, showing the impact of pollution and human actions on the ocean and the life below it. Millie says the class looked at storyboarding in tutorials leading up to the assignment.
“I did that one through Adobe Fresco,” Millie says. “It came together as I storyboarded it to begin with. Setting out that storyboard process and planning beforehand helped with that, and understanding how I wanted specifically the scenes to transition together sort of seamlessly.”
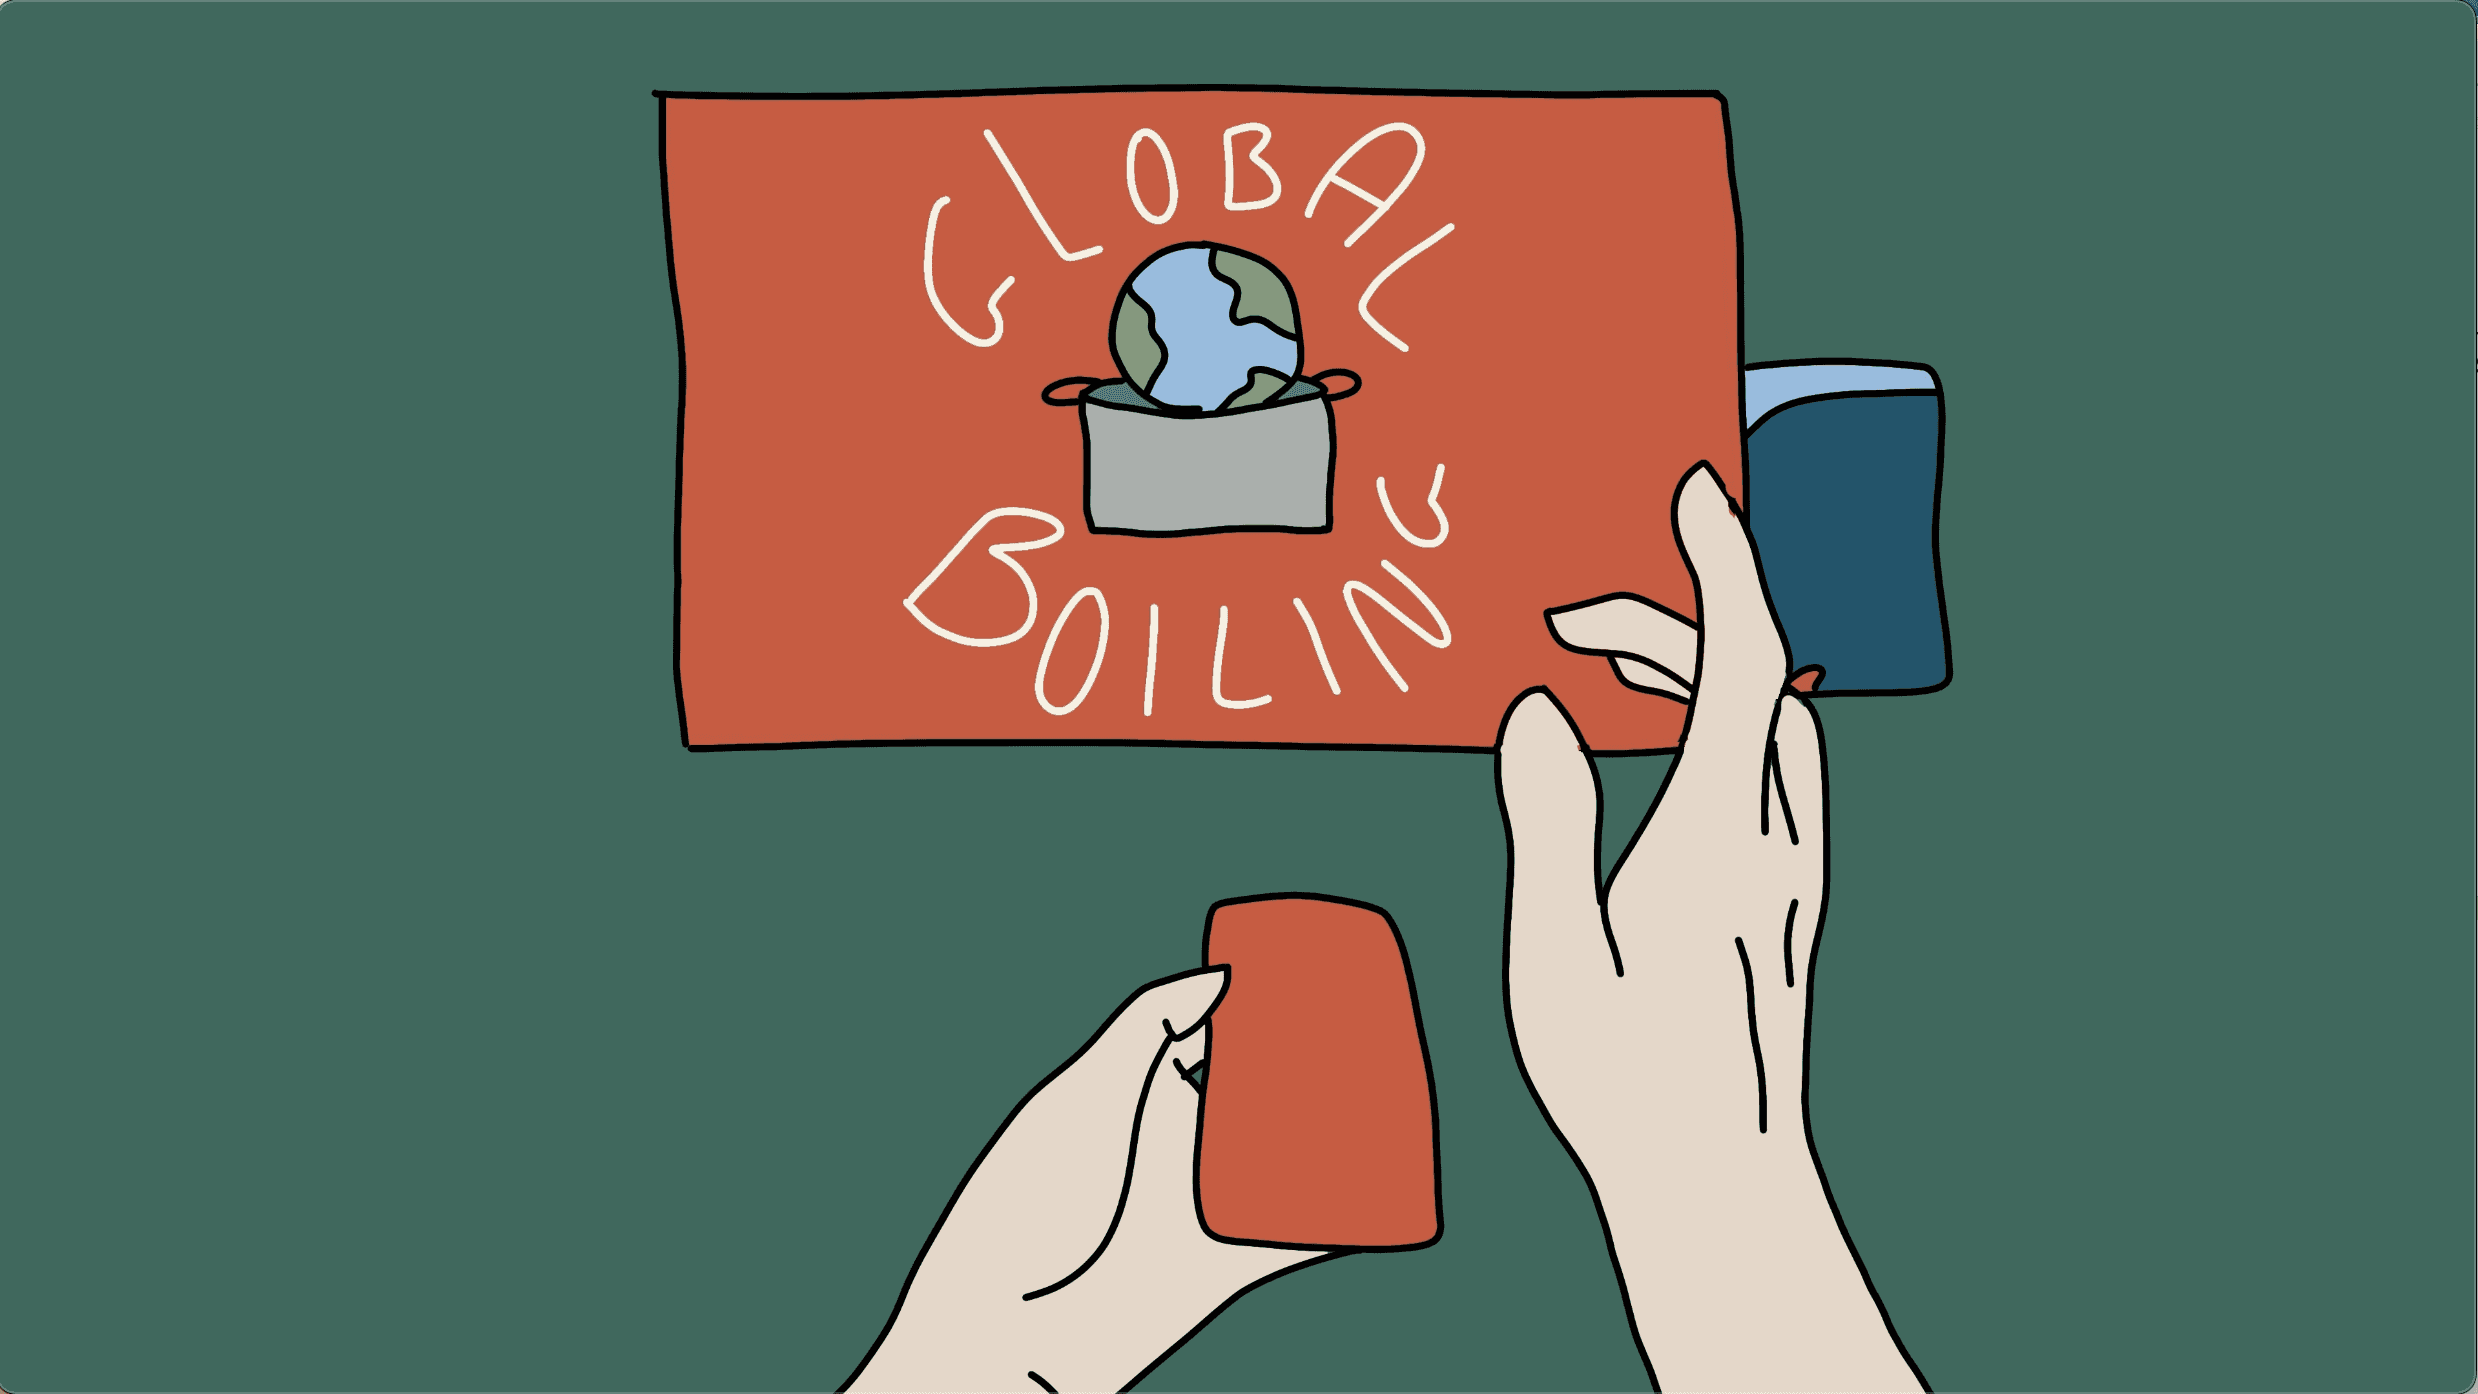
Rose set her animation on SDG13 Climate Action—to take urgent action to combat climate change and its impacts. Rose says that she took a more general approach to the SDGs by looking at different elements of climate action through facts and statistics.
“I focused on rotoscoping because I’d not done it before,” Rose says. “I thought it’d be an interesting way of capturing realistic motion, so I animated mine in Photoshop. It had elements of rotoscoping and just general frame-by-frame animation. I did mine in a point-of-view perspective, so it’s kind of looking at it as if you’re the viewer. It’s showing a screen that brings up different facts and elements like that to try and draw you in and bring you into that situation.”
Each animation needs many frames to display smoothly. The frame rate is how fast those frames are shown—generally measured as frames per second. The frame rate affects how the motion appears to viewers and whether an animation looks realistic. Depending on the usage, an animator could create 12, 24 or even more illustrated frames per second—meaning one minute of animation could take several weeks to complete!
The UniSC Design students agreed that producing their animations for the SDGs task, although fun, was a very long process.
“I remember I spent ages, like, animating this little fish in mine and just making its tail move ... it was a lot of work,” Jolie says. “At the end, it is so rewarding to sort of see it come together.”
Millie says that rotoscoping helped with her animation, although she didn’t use actual videos. She used images and screenshots from videos on the internet, including animation guides, to see how an animal or water moves.
“Obviously,I couldn’t go and film turtles and things, so I just found reference images and stuff that I could then use,” Millie says. “It’s already hard to draw a turtle, like make it swim, so that definitely helped. That’s how it was all done to make it look fluid and real, like breaking off the movements definitely helped with references.”
Rose also says that rotoscoping was very helpful because she used hands in her animation, which are very hard to draw. Using a video she had taken of hands, rotoscoping gave her a better idea of the movement involved.
“It kind of teaches you how things move and like the frame rate of how those things need to move as well, like some subtle movements that you don’t really consider,” Rose says. “If you’re rotoscoping, you notice, you pick up those kinds of things a bit more, which is helpful for going into other processes as well.
15.10.23
written by
dawn brock

The first task of the semester is to produce an animated sequence that will inform their audience about one of the 17 Sustainable Development Goals (SDGs).
UniSC student Jolie Gibbs says that she chose SDG14 Life Below Water—to conserve and sustainably use the oceans, seas and marine resources for sustainable development.
“I created a little fifteen-second animation using just a sequence of hand-drawn illustrations ... to set the scene to what supposedly is in the ocean,” Jolie says. “Then,towards the end,you realise that it’s all set in a plastic bottle. I called it A Plastic Ocean. Just sort of creating a bit of that awareness and realisation as to the impact that marine pollution has on the environment.”

Millie’s animation was also about SDG14 and went through layers of the ocean, showing the impact of pollution and human actions on the ocean and the life below it. Millie says the class looked at storyboarding in tutorials leading up to the assignment.
“I did that one through Adobe Fresco,” Millie says. “It came together as I storyboarded it to begin with. Setting out that storyboard process and planning beforehand helped with that, and understanding how I wanted specifically the scenes to transition together sort of seamlessly.”
Rose set her animation on SDG13 Climate Action—to take urgent action to combat climate change and its impacts. Rose says that she took a more general approach to the SDGs by looking at different elements of climate action through facts and statistics.
“I focused on rotoscoping because I’d not done it before,” Rose says. “I thought it’d be an interesting way of capturing realistic motion, so I animated mine in Photoshop. It had elements of rotoscoping and just general frame-by-frame animation. I did mine in a point-of-view perspective, so it’s kind of looking at it as if you’re the viewer. It’s showing a screen that brings up different facts and elements like that to try and draw you in and bring you into that situation.”
Each animation needs many frames to display smoothly. The frame rate is how fast those frames are shown—generally measured as frames per second. The frame rate affects how the motion appears to viewers and whether an animation looks realistic. Depending on the usage, an animator could create 12, 24 or even more illustrated frames per second—meaning one minute of animation could take several weeks to complete!


The first task of the semester is to produce an animated sequence that will inform their audience about one of the 17 Sustainable Development Goals (SDGs).
UniSC student Jolie Gibbs says that she chose SDG14 Life Below Water—to conserve and sustainably use the oceans, seas and marine resources for sustainable development.
“I created a little fifteen-second animation using just a sequence of hand-drawn illustrations ... to set the scene to what supposedly is in the ocean,” Jolie says. “Then,towards the end,you realise that it’s all set in a plastic bottle. I called it A Plastic Ocean. Just sort of creating a bit of that awareness and realisation as to the impact that marine pollution has on the environment.”


Millie’s animation was also about SDG14 and went through layers of the ocean, showing the impact of pollution and human actions on the ocean and the life below it. Millie says the class looked at storyboarding in tutorials leading up to the assignment.
“I did that one through Adobe Fresco,” Millie says. “It came together as I storyboarded it to begin with. Setting out that storyboard process and planning beforehand helped with that, and understanding how I wanted specifically the scenes to transition together sort of seamlessly.”


Rose set her animation on SDG13 Climate Action—to take urgent action to combat climate change and its impacts. Rose says that she took a more general approach to the SDGs by looking at different elements of climate action through facts and statistics.
“I focused on rotoscoping because I’d not done it before,” Rose says. “I thought it’d be an interesting way of capturing realistic motion, so I animated mine in Photoshop. It had elements of rotoscoping and just general frame-by-frame animation. I did mine in a point-of-view perspective, so it’s kind of looking at it as if you’re the viewer. It’s showing a screen that brings up different facts and elements like that to try and draw you in and bring you into that situation.”
Each animation needs many frames to display smoothly. The frame rate is how fast those frames are shown—generally measured as frames per second. The frame rate affects how the motion appears to viewers and whether an animation looks realistic. Depending on the usage, an animator could create 12, 24 or even more illustrated frames per second—meaning one minute of animation could take several weeks to complete!
The UniSC Design students agreed that producing their animations for the SDGs task, although fun, was a very long process.
“I remember I spent ages, like, animating this little fish in mine and just making its tail move ... it was a lot of work,” Jolie says. “At the end, it is so rewarding to sort of see it come together.”
Millie says that rotoscoping helped with her animation, although she didn’t use actual videos. She used images and screenshots from videos on the internet, including animation guides, to see how an animal or water moves.
“Obviously, I couldn’t go and film turtles and things, so I just found reference images and stuff that I could then use,” Millie says. “It’s already hard to draw a turtle, like make it swim, so that definitely helped. That’s how it was all done to make it look fluid and real, like breaking off the movements definitely helped with references.”
Rose also says that rotoscoping was very helpful because she used hands in her animation, which are very hard to draw. Using a video she had taken of hands, rotoscoping gave her a better idea of the movement involved. “It kind of teaches you how things move and like the frame rate of how those things need to move as well, like some subtle movements that you don’t really consider,” Rose says. “If you’re rotoscoping, you notice, you pick up those kinds of things a bit more, which is helpful for going into other processes as well.

15.10.23
written by
dawn brock
The UniSC Design students agreed that producing their animations for the SDGs task, although fun, was a very long process.
“I remember I spent ages, like, animating this little fish in mine and just making its tail move ... it was a lot of work,” Jolie says. “At the end, it is so rewarding to sort of see it come together.”
Millie says that rotoscoping helped with her animation, although she didn’t use actual videos. She used images and screenshots from videos on the internet, including animation guides, to see how an animal or water moves.
“Obviously,I couldn’t go and film turtles and things, so I just found reference images and stuff that I could then use,” Millie says. “It’s already hard to draw a turtle, like make it swim, so that definitely helped. That’s how it was all done to make it look fluid and real, like breaking off the movements definitely helped with references.”
Rose also says that rotoscoping was very helpful because she used hands in her animation, which are very hard to draw. Using a video she had taken of hands, rotoscoping gave her a better idea of the movement involved.“It kind of teaches you how things move and like the frame rate of how those things need to move as well, like some subtle movements that you don’t really consider,” Rose says. “If you’re rotoscoping, you notice, you pick up those kinds of things a bit more, which is helpful for going into other processes as well.
15.10.23
written by
dawn brock


